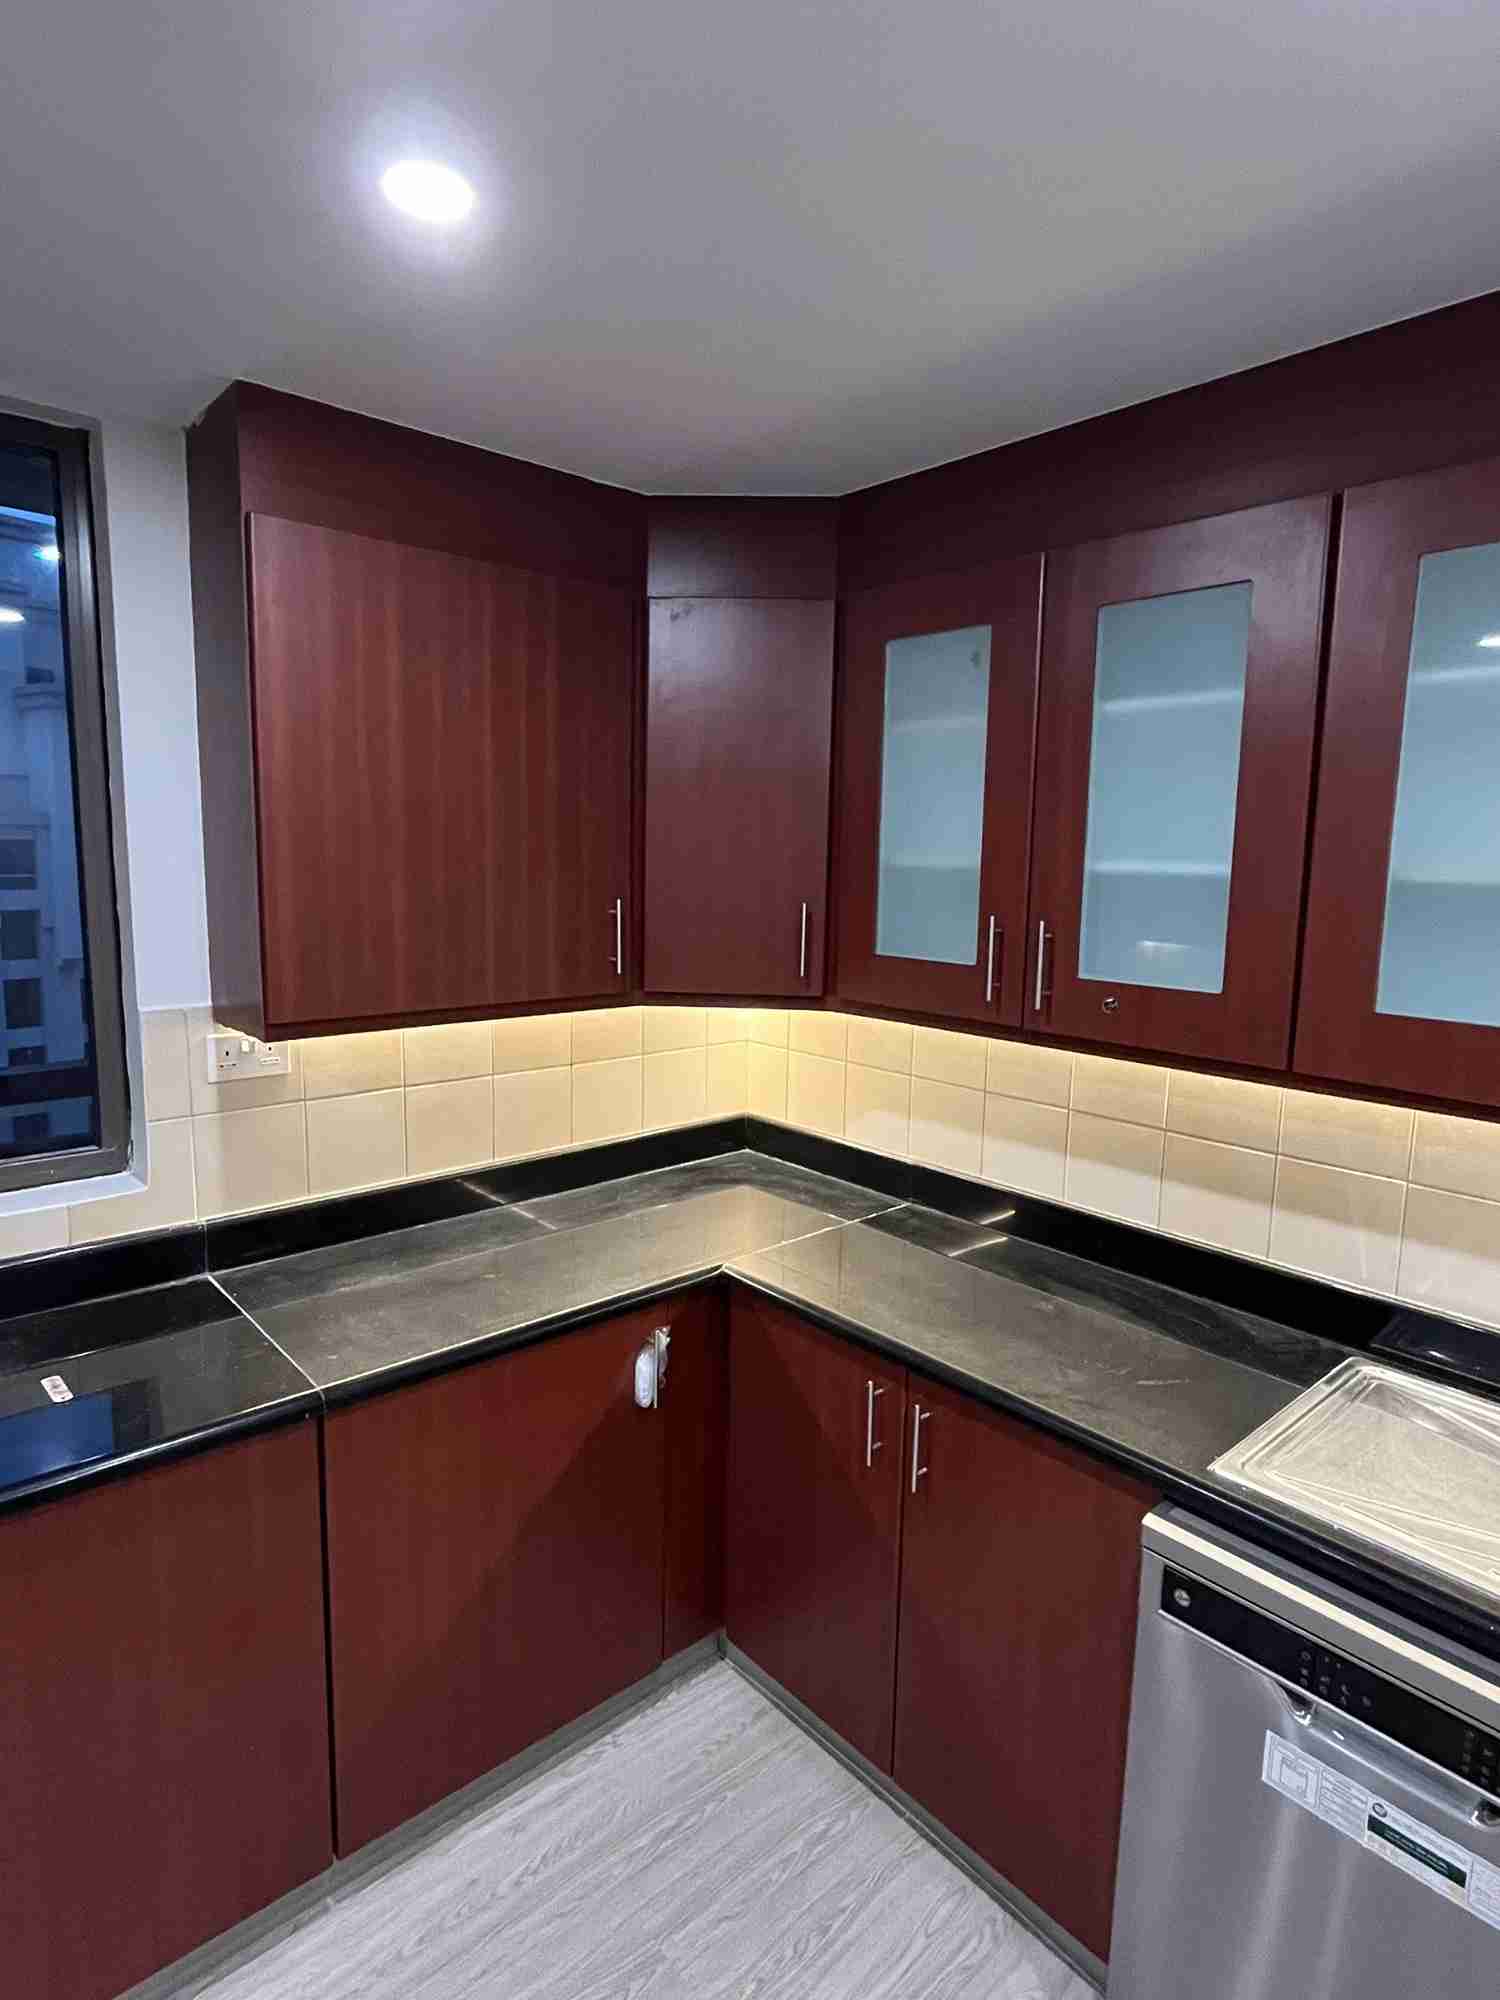
We’re excited to showcase our vinyl wrap project in sadaf 7, Dubai, where we transformed the kitchen with premium, stylish, and durable finishes. This modern upgrade reflects our commitment to quality, easy maintenance, and enhancing everyday living.
The kitchen wrapping project kicked off with an initial consultation where we explored the client’s vision for their kitchen. They desired a fresh, contemporary look with a sleek, minimalist design. During this phase, we presented various vinyl wrap options available through Vinyl Wrap Dubai, including matte, gloss, and textured finishes.
After reviewing several choices, the client opted for a matte grey vinyl wrap for the cabinetry and a glossy white wrap for the countertops. These selections were intended to create a balanced modern aesthetic, with the matte finish offering subtle sophistication and the gloss finish bringing a touch of brightness to the countertops.
We took precise measurements of all kitchen surfaces, including cabinet doors, drawers, and countertop areas, ensuring we had the right amount of vinyl wrap and that everything would fit perfectly.
Proper surface preparation is essential for ensuring that the vinyl adheres well and has a long lifespan. At Reehan 5, we started by taking off all the cabinet doors, drawer fronts, and any hardware like handles and knobs. This allowed us to apply the vinyl directly to the flat surfaces, resulting in a smoother and more uniform finish.
We meticulously cleaned all surfaces with specialized cleaning agents to eliminate grease, dust, and food residues. Since the kitchen is a high-traffic area, we focused particularly on spots like the cabinet fronts and countertops, where grease and oils tend to build up. After cleaning, we checked the surfaces for any imperfections, such as scratches or dents. Any damage was repaired and smoothed out to ensure a flawless finish once the vinyl was applied.
After prepping the surfaces, the next step was to choose and customize the vinyl wraps. As part of Vinyl Wrap Dubai, we provide a wide selection of high-quality vinyl options, recognized for their durability, ease of maintenance, and ability to endure the demands of kitchen environments.
For Reehan 5, the client opted for a matte grey vinyl for the cabinetry and a glossy white vinyl for the countertops. We made sure that the vinyl was cut to the precise dimensions of each cabinet door, drawer front, and countertop area, taking into account the intricate details like edges, grooves, and handle placements.
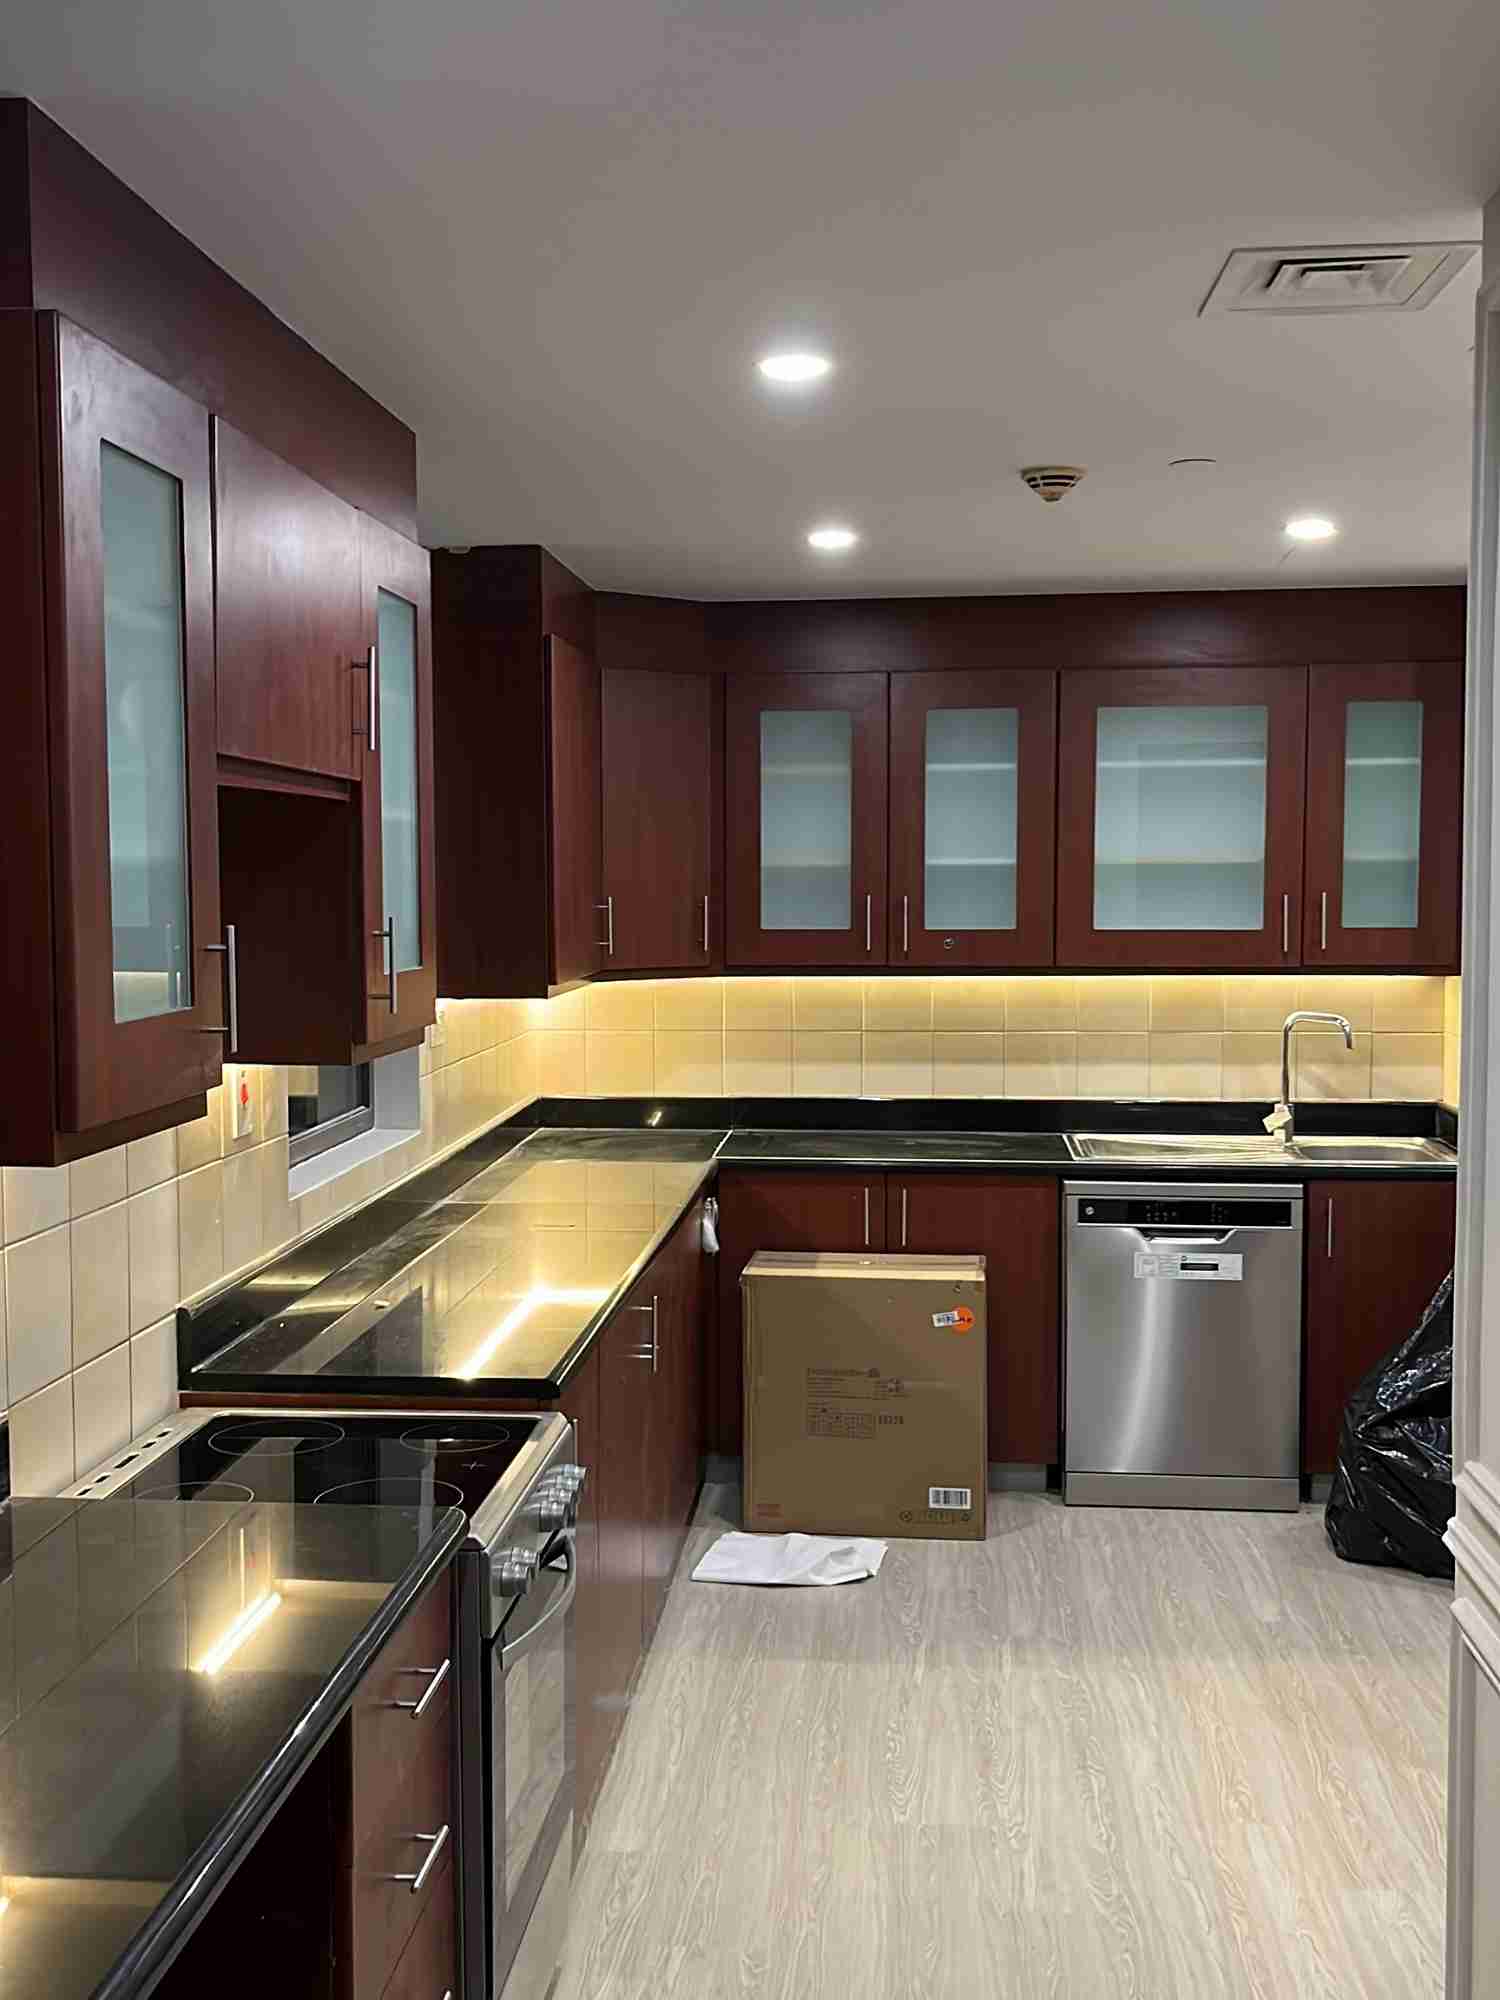
Once the vinyl was cut to the right size, we started applying it to the kitchen surfaces. We began with the cabinet doors and drawers, carefully aligning each piece of vinyl wrap to ensure it was straight and smooth before removing the adhesive backing.
To make handling the vinyl easier, especially around corners and edges, we used a heat gun. This helped soften the vinyl, making it more flexible and ensuring it adhered well to the surfaces. We employed a squeegee to press the vinyl into place, working out any air bubbles or wrinkles as we went along. This technique provided a seamless, professional finish.
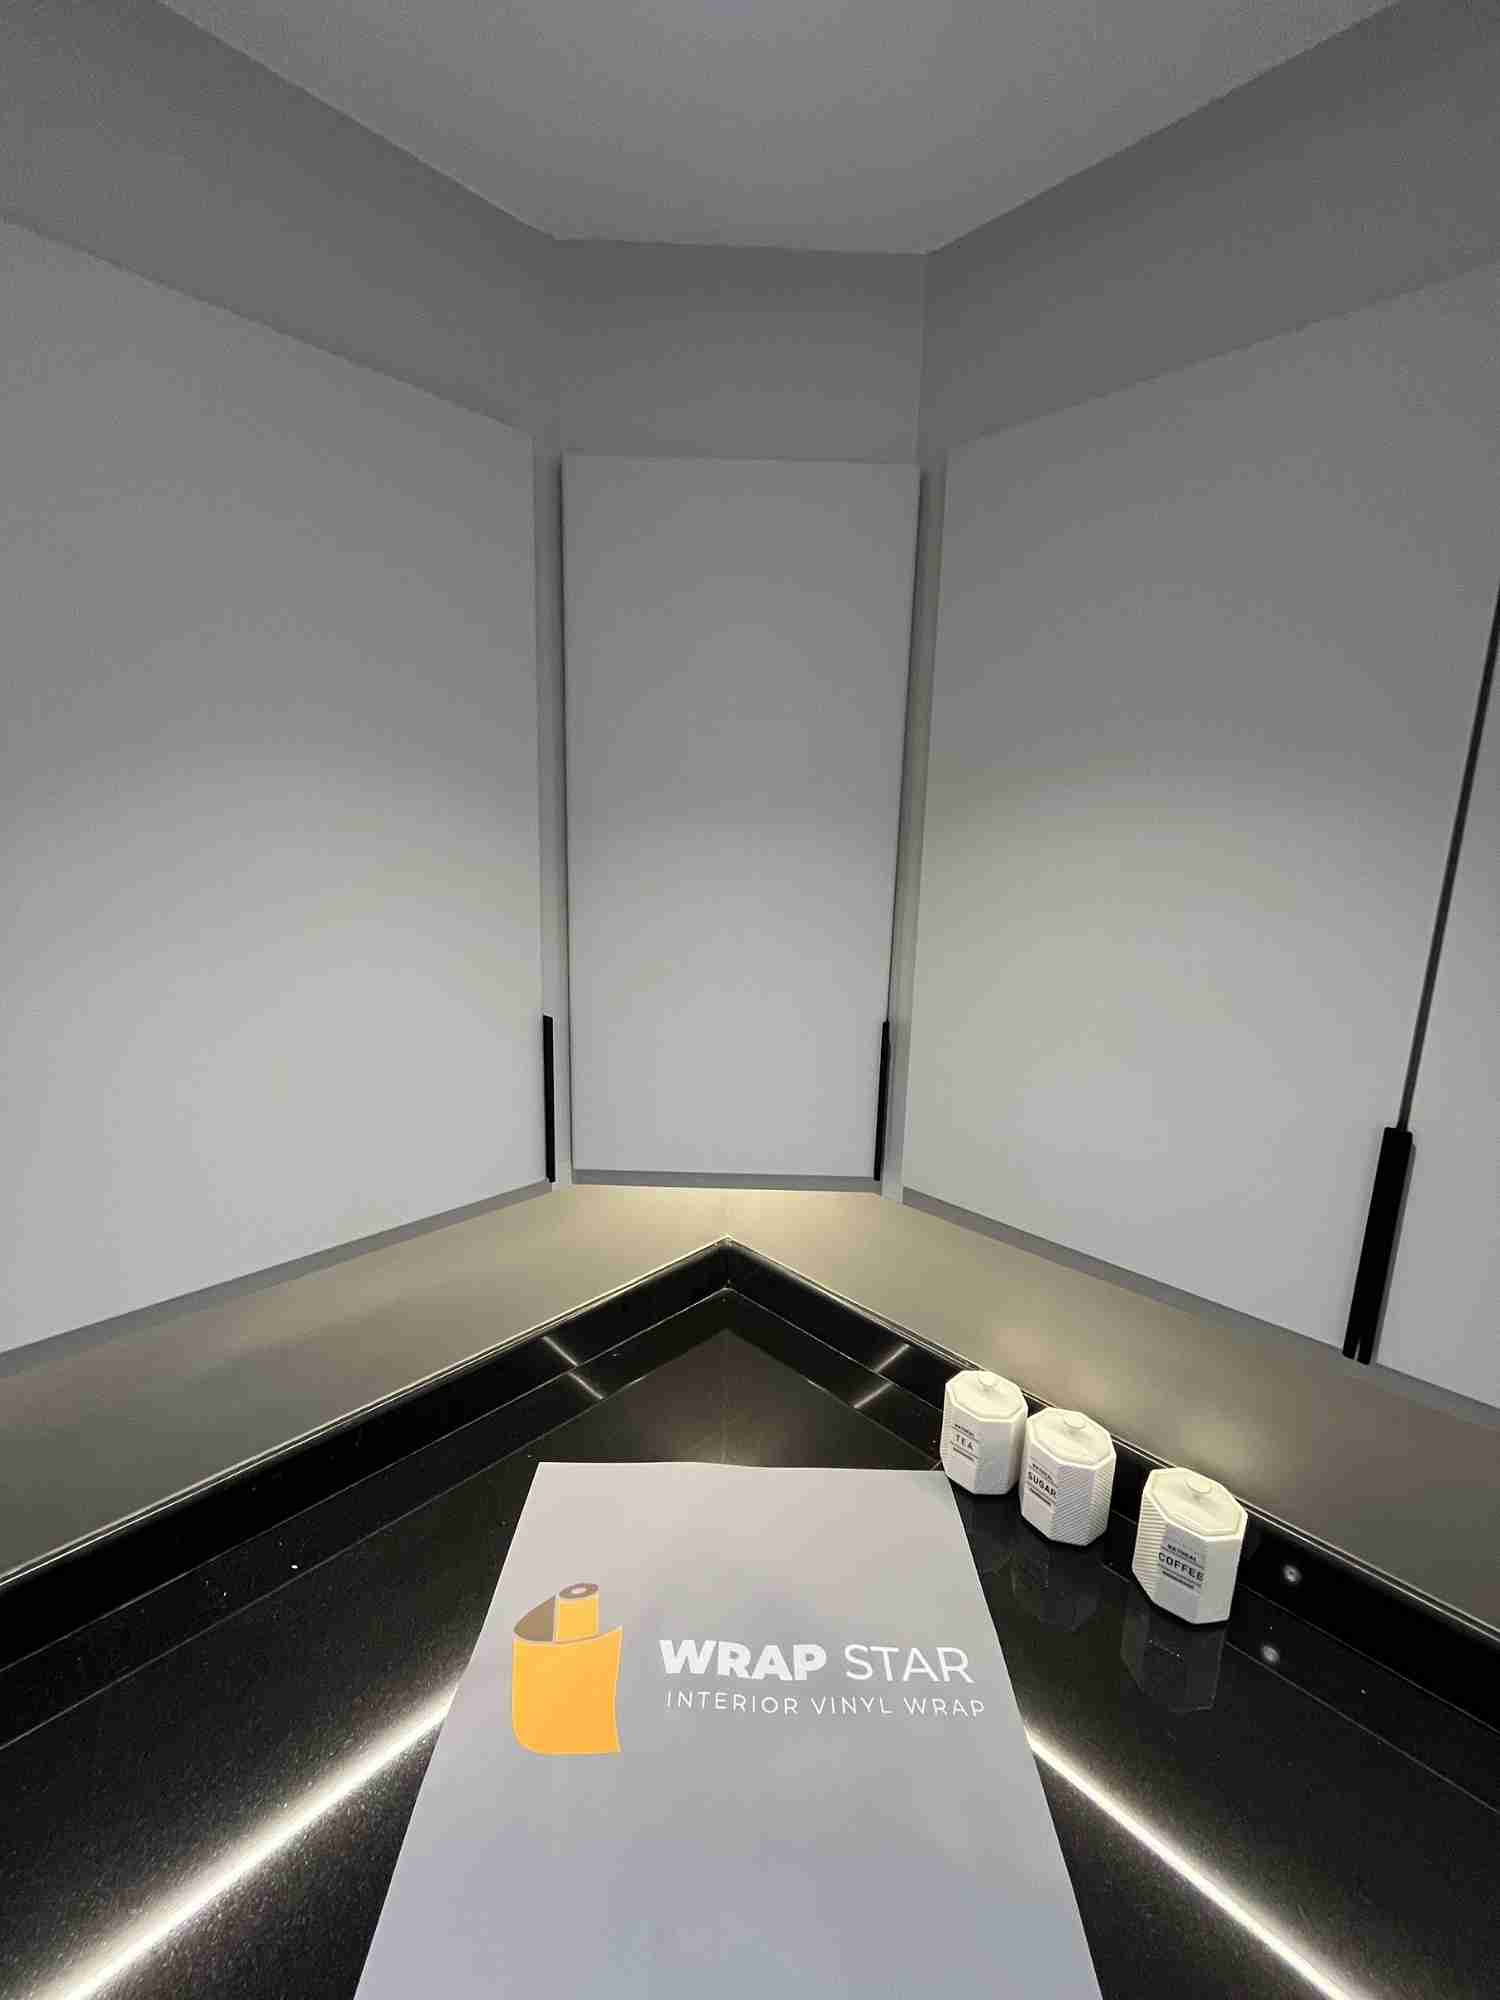
For the kitchen countertops, we applied the glossy white vinyl wrap in a similar manner. The glossy finish added a bright and clean look that complemented the matte cabinetry. We took care to press the vinyl around the edges of the countertop, paying special attention to areas like the sink and backsplash to achieve a smooth, continuous appearance.
After applying the vinyl to the surfaces, we proceeded to trim the excess material. Using precision blades, we carefully cut the vinyl around the edges of the cabinet doors and drawers, as well as along the countertop. This ensured that the vinyl wrapped neatly around the edges and corners of the kitchen, creating clean, sharp lines.
We also made final adjustments to ensure the vinyl fit perfectly around the handles, hinges, and other hardware. At Reehan 5, we took great care to align all the seams correctly and blend them seamlessly for a cohesive look.
After applying and trimming the vinyl, we carefully put the cabinet doors and drawers back in place. At Reehan 5, we ensured that each door was properly aligned within the cabinet frame and that the drawers functioned smoothly. We also reattached the hardware, including handles and knobs, making sure that the new vinyl-wrapped surfaces did not hinder their operation.
This step was crucial to maintain the kitchen’s functionality, ensuring that all cabinet doors and drawers worked seamlessly after the vinyl wrap was applied.
Following the reinstallation of the doors and drawers, we performed a comprehensive final inspection of the kitchen. We examined each vinyl-wrapped surface to confirm there were no bubbles, wrinkles, or flaws. Our team focused on corners, edges, and seams to ensure the vinyl adhered correctly and provided a seamless, uniform look.
We also assessed the overall functionality of the kitchen, checking that the doors and drawers opened and closed effortlessly and that the countertop vinyl was securely in place. Any minor adjustments or touch-ups were made at this point to guarantee a perfect finish.
Once the final inspection was done and the client was pleased with the outcome, we conducted a walkthrough to discuss the maintenance and care of the vinyl-wrapped surfaces. We highlighted that vinyl wraps are simple to clean and maintain, providing the client with specific instructions on how to care for the newly wrapped kitchen surfaces.
We recommended using non-abrasive cleaners and soft cloths for cleaning the vinyl, steering clear of harsh chemicals that could harm the surface. Additionally, we advised the client to avoid excessive heat and sharp objects that might scratch or damage the vinyl over time.
Wrapstar is the best vinyl wrapping company based in Dubai, specializing in high-quality finishes for a wide range of surfaces, including furniture, kitchens, doors, and more. We provide durable, practical vinyl wrapping solutions for both residential and commercial projects.