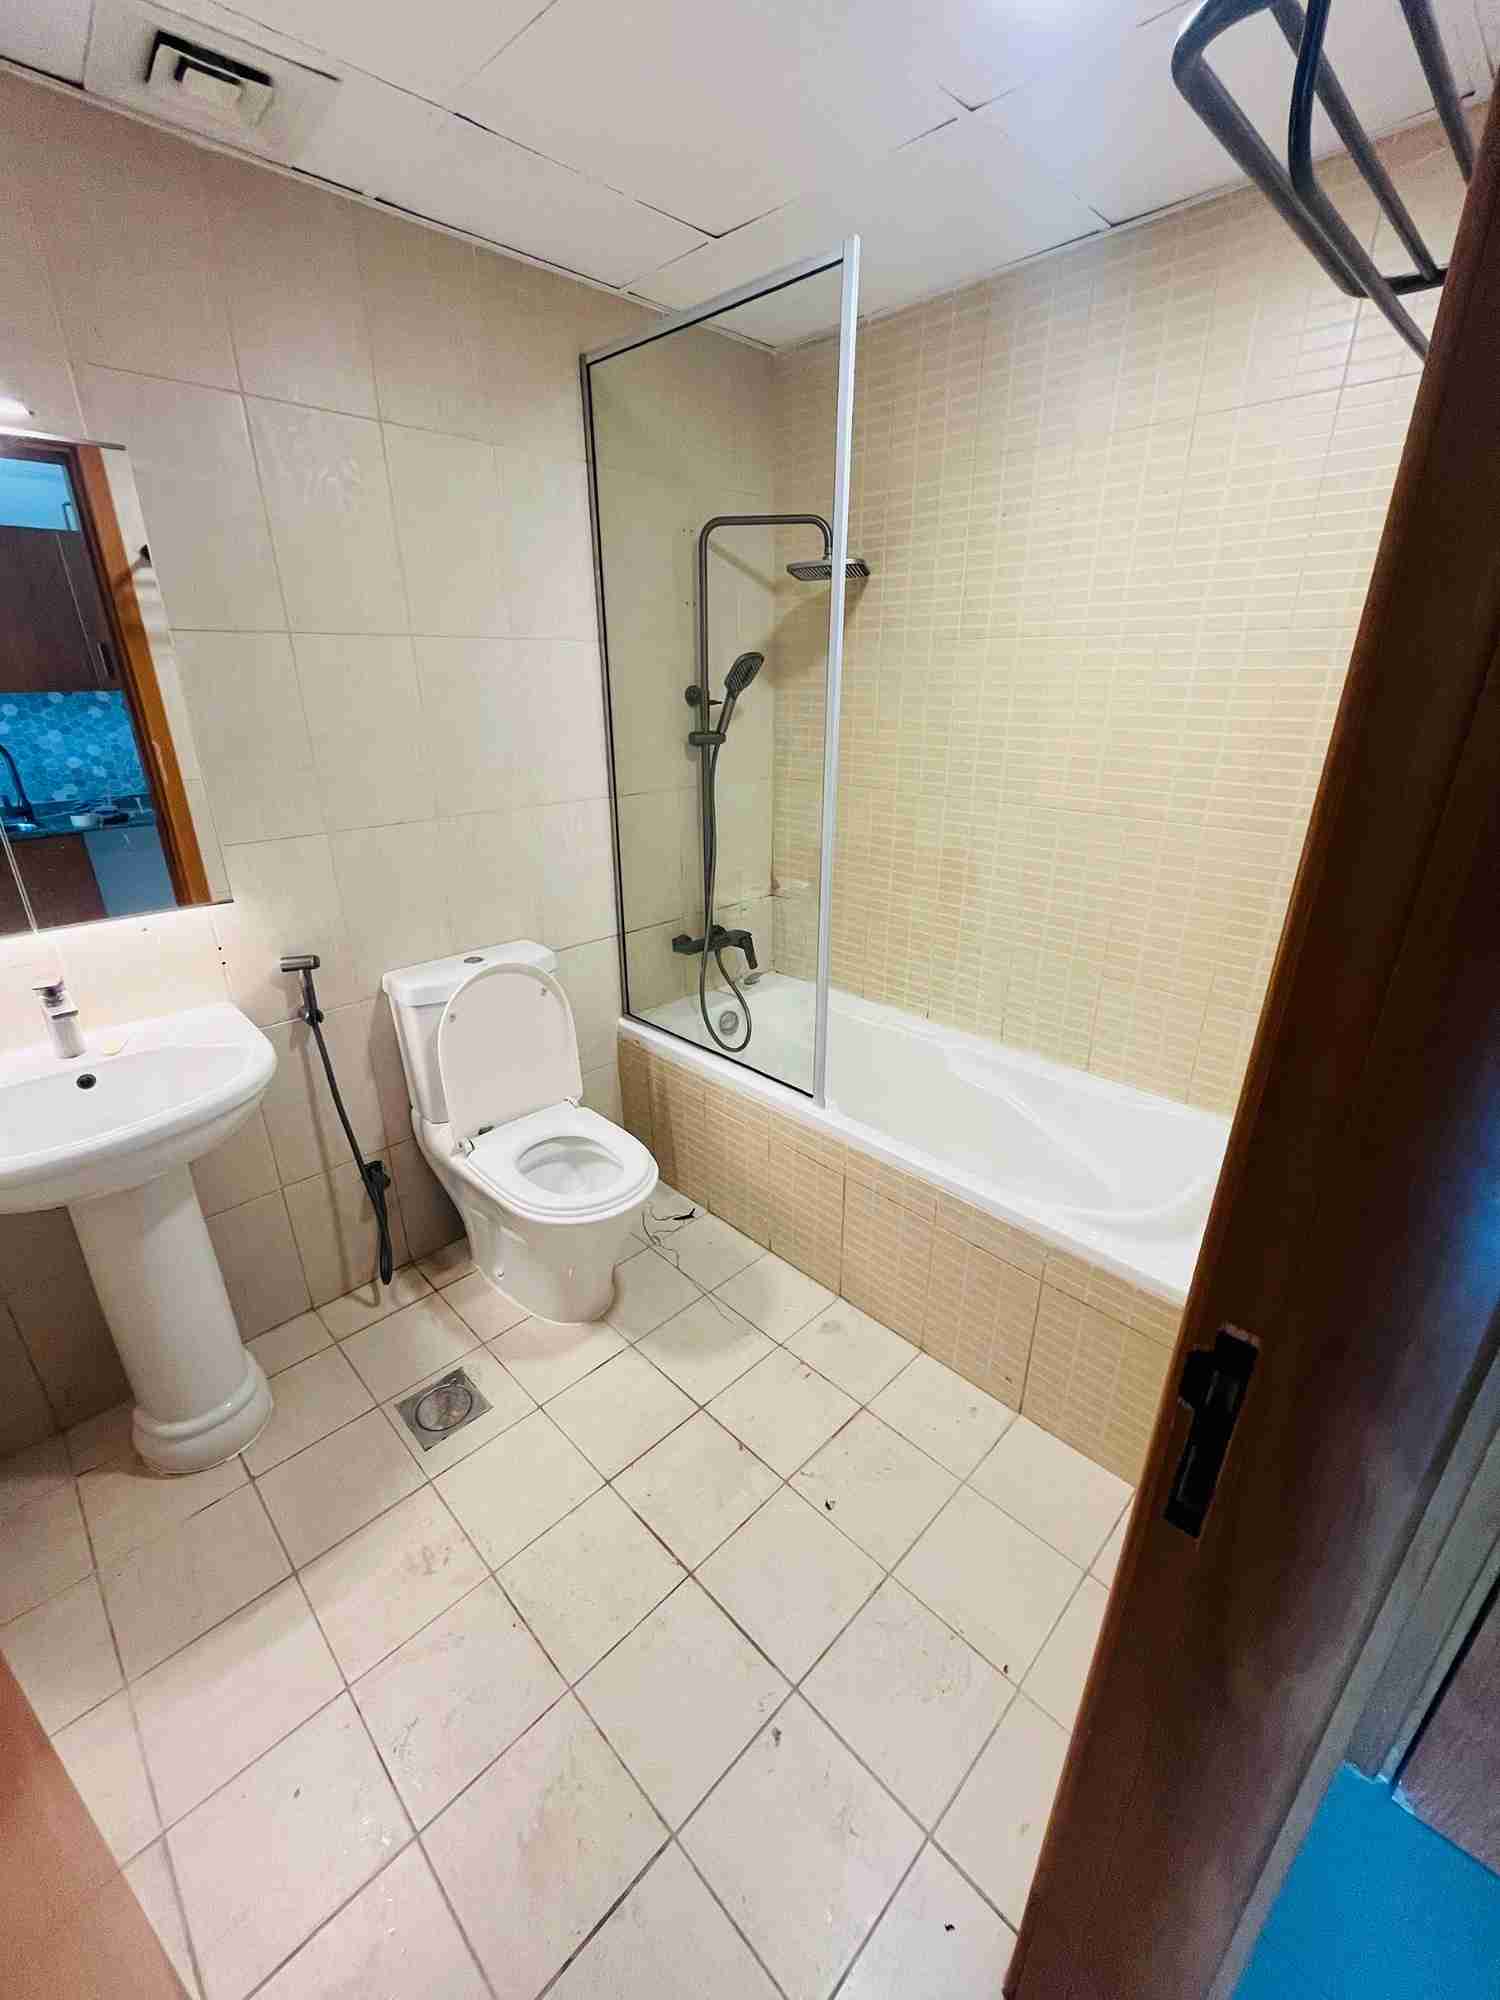
We’re excited to show our latest Bathroom Wrap project in Lakeside Tower, where style meets function in a modern transformation. This bathroom wrap makeover adds a modern, stylish finish with durable vinyl, delivering easy maintenance and a stunning new look that enhances everyday living.
Bathroom wrapping is a popular method for updating old or worn bathroom surfaces into modern, easy-to-maintain features. This process involves applying a durable vinyl film to surfaces like walls, vanities, and shower areas. At Lakeside Tower 3, we utilized our specialized bathroom wrap technique to efficiently and effectively upgrade and rejuvenate the space. Below is a detailed step-by-step guide on how we approached the bathroom wrap project.
The process begins with a thorough consultation where we meet with the client to understand their design preferences and functional needs. At Lakeside Tower , we discussed the desired look, whether it was a sleek modern style, a traditional aesthetic, or something more vibrant. We then inspected the bathroom to evaluate the surfaces that needed wrapping, including tiles, countertops, vanities, and shower areas. Measurements were taken to ensure the vinyl wrap would fit properly and align with the client’s expectations.
For the wrap to adhere properly and achieve a smooth finish, surface preparation is crucial. We start by thoroughly cleaning the bathroom surfaces to remove dust, grime, soap scum, oils, and any other residues that could affect the vinyl’s adhesion. At Lakeside Tower , we used specialized cleaning agents that are effective yet gentle, ensuring the surfaces were free from contaminants while avoiding damage. Any existing cracks, chips, or imperfections were filled or smoothed to create an even base for the vinyl.
Next, we assist the client in selecting the ideal vinyl material for the bathroom wrap. Vinyls are available in a variety of finishes—such as matte, gloss, wood grain, stone, or solid colors—that can transform the bathroom into a fresh and modern space. For Lakeside Tower , the client chose a sleek, waterproof high-gloss finish to achieve a contemporary and clean look. We also tailored the vinyl to accommodate the bathroom’s unique features, including corners, edges, and fixtures.
After selecting the vinyl, we moved on to cutting it to the precise dimensions required for each surface. This step demands accuracy to ensure that the wrap fits perfectly and covers the surfaces without any overlaps or gaps. At Lakeside Tower, we meticulously measured and marked every section, from the walls to the countertops. We also considered specific features like sinks, mirrors, and fixtures, which needed customized cuts and trims.
We carefully applied the vinyl wrap to each cabinet door and drawer. Starting from one edge, we slowly peeled the backing off the vinyl while smoothing it over the surface. Using a heat gun, we activated the adhesive, making the vinyl more flexible so it could conform tightly around corners, edges, and other features of the cabinet doors.
At Nad Al Sheba 3, our skilled team used a squeegee to ensure the vinyl adhered evenly and without air bubbles. The heat gun also helped the vinyl stretch smoothly, especially around tricky curves or grooves, resulting in a flawless finish.
During the application process, air bubbles or wrinkles can sometimes form. To prevent these imperfections, we use a squeegee to push out any trapped air and ensure the vinyl lays flat against the surface. The heat from the heat gun also helps to eliminate any minor wrinkles that may have appeared during the application.
Once the vinyl was fully applied, we trimmed away any excess material around the edges of the bathroom surfaces. This was done using precision blades to ensure clean, sharp cuts, especially around tricky areas like faucets, light switches, and corners. We paid close attention to detail around fixtures such as mirrors, sinks, and shower heads, ensuring the vinyl was neatly cut and wrapped around these elements. At Lakeside Tower 3, we aimed for a seamless transition between the vinyl wrap and existing features to give the bathroom a uniform, polished look.
After the vinyl wrap was applied and trimmed, we reinstalled any removed fixtures, such as mirrors, light switches, or towel racks. At Lakeside Tower 3, this included checking that all plumbing and hardware were properly aligned and secure, ensuring that the vinyl wrap didn’t interfere with the bathroom’s functionality. We also looked for any final adjustments or touch-ups needed, such as smoothing down edges or re-aligning small sections of the vinyl.
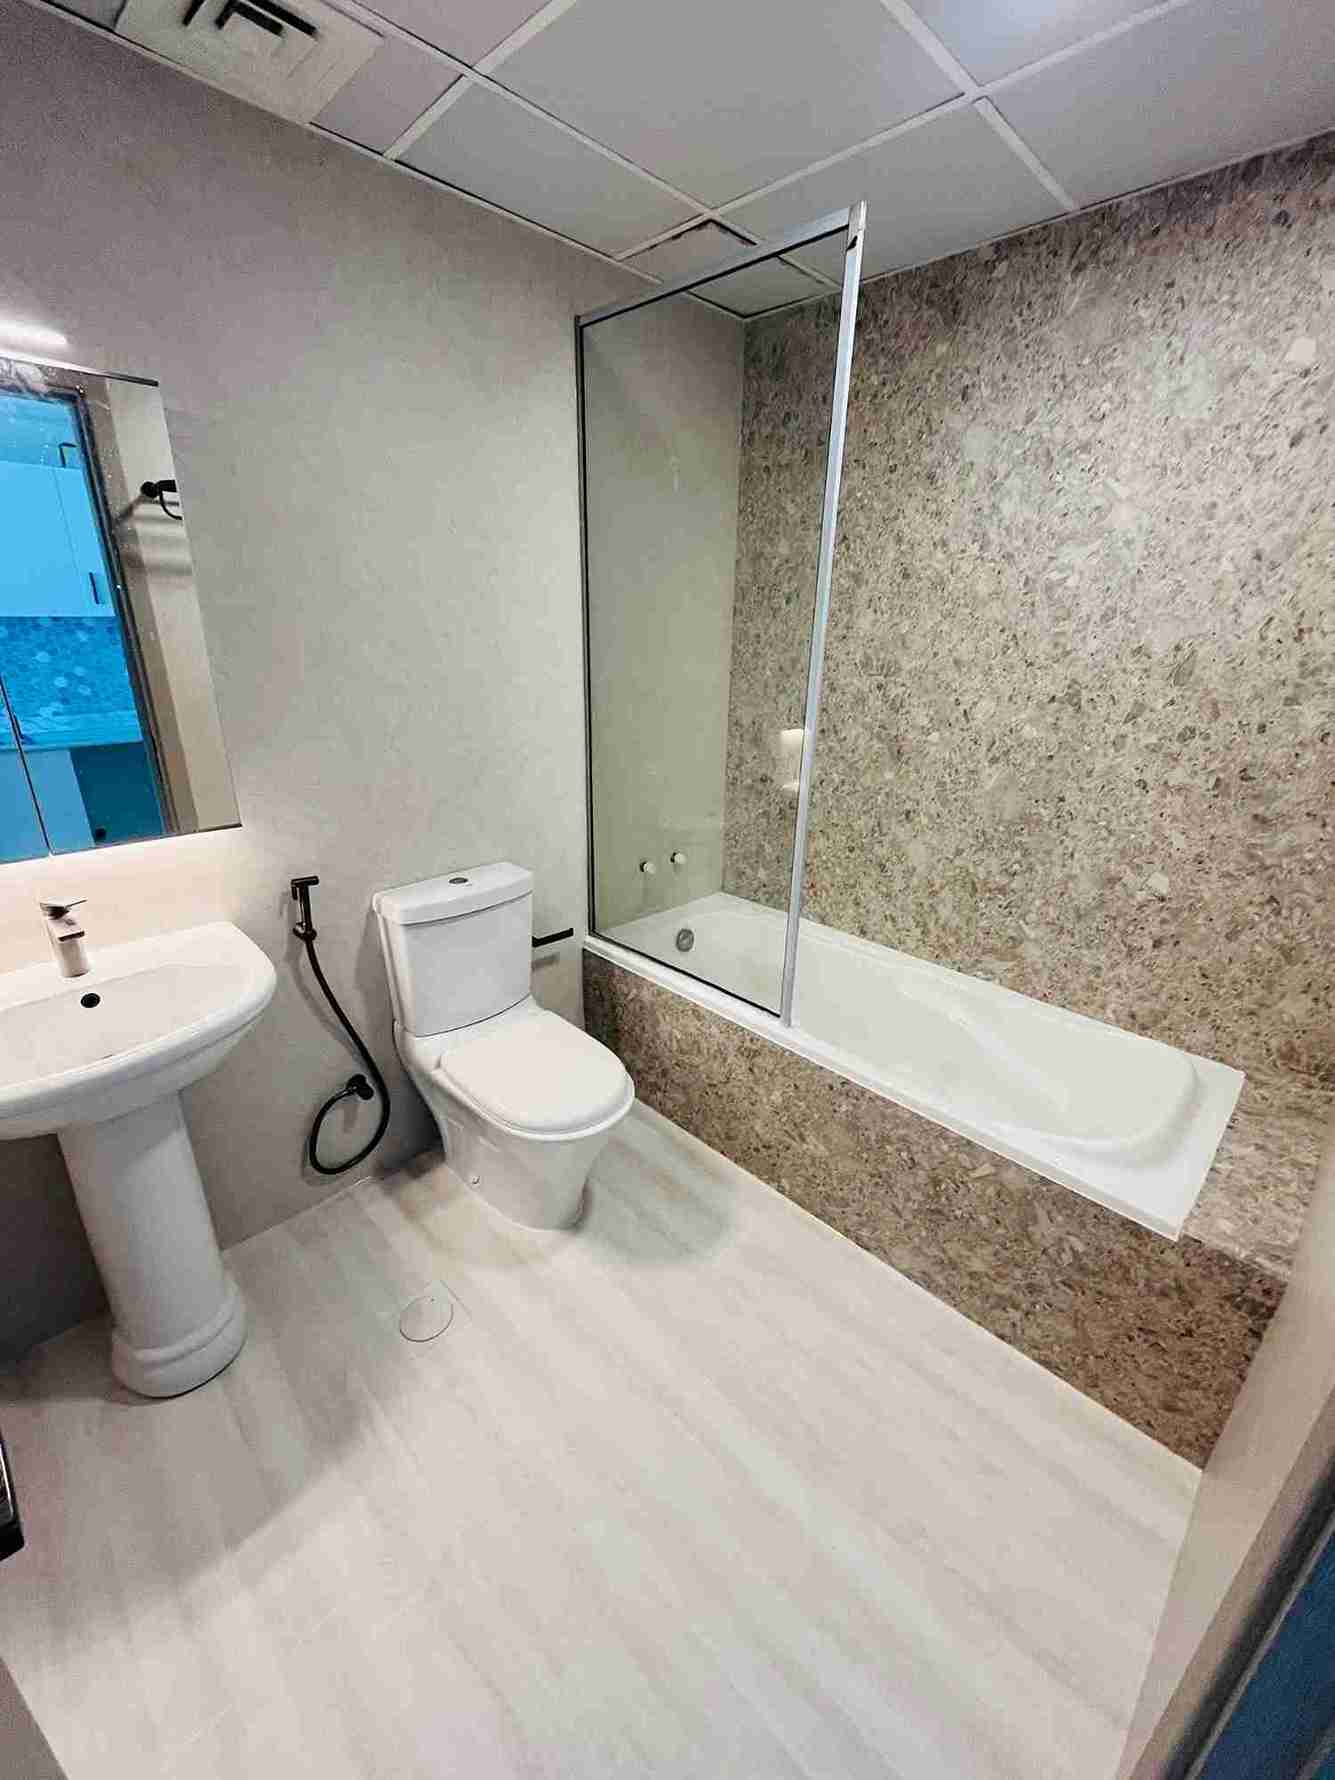
Before wrapping up the project, we performed a thorough final inspection to confirm that the bathroom wrap was perfect. We scrutinized every aspect, from how well the vinyl adhered to the overall appearance, ensuring there were no air pockets, wrinkles, or visible seams. We also checked that the wrap was sturdy and moisture-resistant, given that bathrooms experience high humidity. At Lakeside Tower 3, we tested the wrap to guarantee it would stay intact over time, even with regular exposure to water and steam.
In the end, we walked through the space with the client to make sure they were pleased with the bathroom makeover. At Lakeside Tower 3, the client was excited about the modern and sleek design of the bathroom. We provided them with straightforward maintenance guidelines on how to care for their wrapped surfaces to keep them looking fresh for years. We also welcomed their feedback to ensure the project aligned with their expectations.
Wrapstar is the best vinyl wrapping company based in Dubai, specializing in high-quality finishes for a wide range of surfaces, including furniture, kitchens, doors, and more. We provide durable, practical vinyl wrapping solutions for both residential and commercial projects.